Gimp101- Create Your Own Splatter Brushes in GIMP
October 9, 2010 Leave a comment
In this tutorial I will show you how you can make your own splatter brush in GIMP. This is a GimpTutBlog special tutorial. So, let’s get started.
So, first of all create a new image with the size of 600×600 px.

You can make any size you want depending on the size of the brush but you must enter the same value on both Width and Height. This tutorial will learn you make some simple splatter brushes, but with the knowledge you will get out of this tutorial you will be able to make anything you want. You must make sure that the background is white.
Then select your brush tool (or press P with the Toolbox window active) and select the “Sparks” brush.

Then increase the Scale to 2.00, and then go to Windows-Dockable windows-Brushes and you should see this dock windows.

Now, as you saw in this image you need to set the Spacing to max.
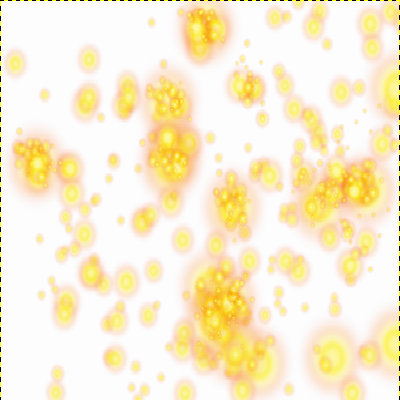
Now add a new layer by going to Layer-New Layer or press Shift+Ctrl+N, and then brush the image like you see in the next image. Now, you will not make a perfect brush from the first time, since you need some good practice, but since you know the method because of this tutorial you will not have problems at all.

Now decrease the Scale of the brush back to 1.00 and brush near the bigger spots as I did.

Then decrease the size again to about 0.50 and brush as I did.

Now go to your Layers box, with the new layer selected, check the Lock Alpha channel box like in the image.

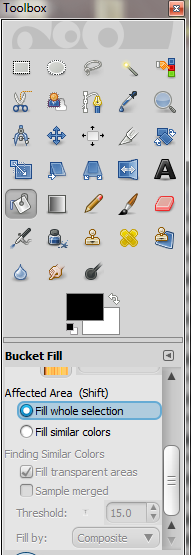
Then grab your Paint Bucket Tool( or press Shift+B) , make sure that the Foreground color is Black and in the Bucket Fill box, at the “Affected Area (Shift)|” check “Fill whole slection”.

Then , with the New Layer selected click on your image. Now it should look like this:

Now go to Image-Flatten Image. Now we want to get rid of that fuzzy thing around the circles. So to do that go to Colors- Threshold. This image should pop up”

Now drag the black arrow to adjust the splatter. You can play with the settings, but for this tutorial, I set the black to 178.

Now as you can see the image has now the shape of a splatter brush, but if you will zoom you will see that the margins of the splats are pixelised.


So we don’t want this, at least I don’t want them because they don’t look nice, so to do so go to Filters-Blur-Gaussian Blur and leave the default setting alone and click OK.
So now we want to get rid of that fuzzy, unclear look so to do so go to Colors-Levels. Now bring the two exterior arrows towards the interior one to make the splatts more sharp. You can play with the settings but for this tutorial I made the following settings:

Please note that you must not bring all the arrows to the same place because that will make the pixelised margin appear again. So now we will have a much smoother and sharper splatts.
Ok now go to Image-Autocrop Image. Now go to Image-Mode-Grayscale. The reason why we did that is because if you will leave it to RGB, when you will use the brush you will not be able to use other colours, only the splatter itself, so we did that so we can select any colour for the brush we want.
Ok now we want to save the brush, so to do that we go to File-Save As and browse to your GIMP Installation folder, usually in C\: Program Files\Gimp-2.0 (Windows). In the Gimp Folder go to Share\gimp\2.0\brushes and save the brush in there with the extension .gbr so for example I want to save my brush splatter brush, I will save it as splatter brush.gbr. Note that if you want to save the brush into a simple, user ready folder, you will need to go to your user folder. For Windows Vista or 7 you need to go to Start and click the first box at the right top, then go to .gimp-2.6\brushes and save it in there so you can find it very easy. If you want to save it unde Windows XP you will need to go to C\Documents and Settings\user\.gimp-2.6\brushes. Ok So that’s it. Save it as .gbr and you are done. You can use this brush as you want. If you want to test this brush, after you saved it, close GIMP and restart it. Thank you for visiting my blog, reading this tutorial. Please post a comment, rate and subscribe to this blog’s RSS so you can stay tune with the latest updates. Thank you again and have a nice day.
GimpTutBlog-Gimp101 Series
